As the UK pushes towards a more sustainable future, solar panels have become an increasingly popular choice for homeowners looking to reduce energy bills, lower their carbon footprint, and embrace renewable energy. However, the process of installing solar panels may seem complex at first. From choosing the right system to final installation, there are several steps involved.
In this detailed step-by-step guide, we’ll walk you through the entire process of solar panel installation in the UK, including everything you need to know to make your home energy-efficient and eco-friendly.
Step 1: Evaluate Your Home’s Solar Suitability
Before you decide on solar panel installation, it’s essential to assess whether your home is suitable for solar panels for home installation.
Roof Space and Condition
The first consideration is whether your roof can support solar panels. A roof with ample, unobstructed space is ideal. If your roof is too small, shaded, or needs repairs, it might not be suitable for solar panels. Most homes will require a south-facing roof to get the maximum amount of sunlight, though east- or west-facing roofs can also work well, especially with modern high-efficiency panels.
Ensure your roof is in excellent condition and that it doesn’t need repairs before installation. Most solar panel installers in the UK will provide an initial inspection to assess whether your roof can support solar panels.
Sunlight Exposure
While the UK doesn’t receive year-round sunshine, solar panels can still be effective even in less-than-ideal conditions. The more sunlight your roof receives, the more energy your panels will generate. If you live in an area with frequent cloud cover, don’t worry—modern solar panels are designed to work even in lower light conditions.
Step 2: Research and Select the Right Solar Panels
Once you’ve assessed your roof and sunlight exposure, the next step is to choose the right solar panels for your home. There are several types of solar panels, each with its own advantages:
1. Monocrystalline Panels
Monocrystalline solar panels are made from a single crystal structure and are known for their high efficiency and sleek appearance. These panels are ideal for homes with limited roof space since they generate more electricity per square metre than other options.
Pros:
- High efficiency (up to 22%)
- Long lifespan (25+ years)
- Compact design
Cons:
- Higher upfront cost
2. Polycrystalline Panels
Polycrystalline panels are made from silicon crystals that are melted together. While they are less efficient than monocrystalline panels, they are more affordable, making them a good choice for larger roofs or those on a budget.
Pros:
- More affordable
- Reliable performance
Cons:
- Lower efficiency (15-17%)
3. Thin-Film Panels
Thin-film solar panels are lightweight and flexible, making them ideal for installations on irregularly shaped roofs. However, they have lower efficiency and are typically used when space isn’t as much of an issue.
Pros:
- Flexible and lightweight
- Affordable
Cons:
- Low efficiency (10-12%
- Shorter lifespan
4. Hybrid Solar Panels (Solar PV and Solar Thermal)
If you’re interested in maximising energy savings, hybrid systems combine photovoltaic (solar PV) panels with thermal panels. These systems provide both electricity and hot water, making them ideal for households with higher energy demands.
Selecting the Best Solar Installer in the UK
Once you’ve decided on the type of solar panels you’d like, it’s time to choose a qualified solar panel installer. Look for solar panel installers in the UK who are MCS-certified (Microgeneration Certification Scheme) and accredited by the Renewable Energy Consumer Code (RECC).
1. Research Reputable Installers
Check online reviews, ask for recommendations, and get quotes from multiple installers to ensure you’re getting the best deal and service. Reputable installers will provide you with an initial consultation, including a full survey of your home and advice on the best system for your energy needs.
2. Compare Quotes and Warranty Offers
Get at least three quotes from different installers to compare costs, warranties, and timelines. The warranty offered should cover the panels, the inverter, and the installation, and it’s essential to understand the terms of the warranty before proceeding.
Step 3: Site Survey and Design
Once you’ve chosen an installer, the next step is a site survey. A professional installer will visit your home to assess your roof’s suitability for the solar panels, take measurements, and discuss the type of system that will work best for your energy needs.
Factors Considered During the Survey:
- Roof structure and condition
- Available roof space
- Angle and orientation of the roof
- Shading from trees, buildings, or other obstructions
- Energy usage to determine system size
After the survey, the installer will propose a personalised design based on the results. This design will detail the number of panels, the layout, and other technical specifications.
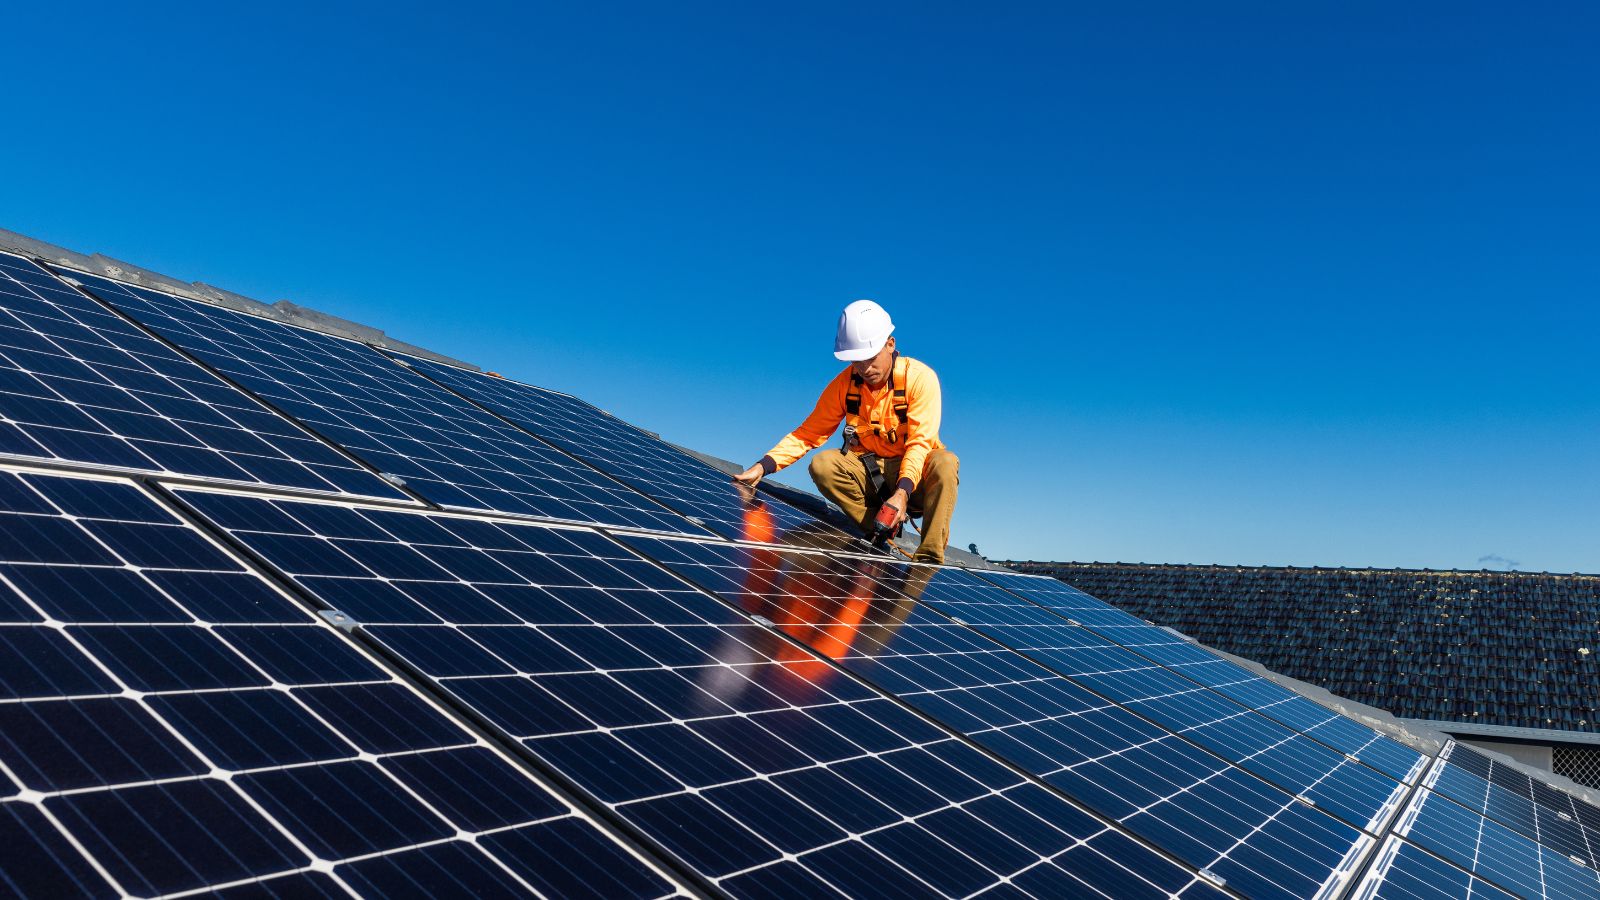
Step 4: Installation of Solar Panels
The installation process typically takes 1-3 days, depending on the size of your system and the complexity of the installation.
Installation Day: What to Expect
- Preparation: The installation team will arrive early in the morning. They will begin by setting up scaffolding or ladders to access the roof.
- Mounting the Panels: The first step is to install the mounting system, which holds the panels in place. This frame is securely attached to your roof, ensuring the panels are stable and safe.
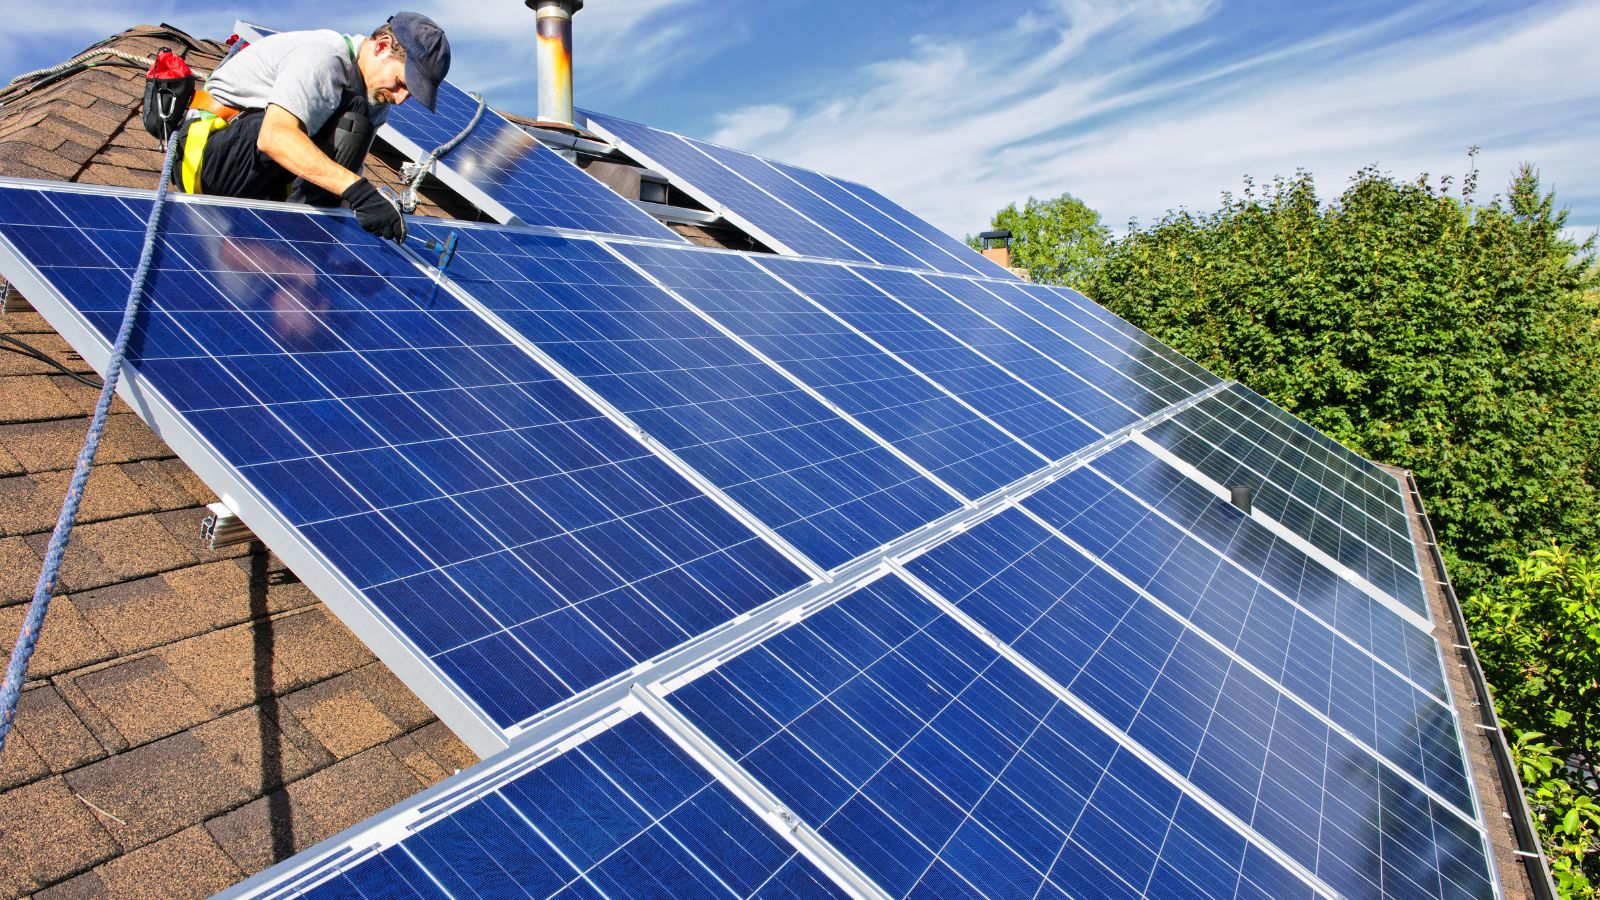
- Wiring and Inverter Installation: The electrical components, including wiring and the inverter, will be installed. The inverter converts the DC power generated by the panels into AC power that can be used in your home.
- Final Connections: The system is then connected to your electrical panel, and often, the installer will also connect your system to the national grid. If you opt for a battery storage system, that will be installed as well.
Testing and Commissioning
Once everything is installed, the installer will perform a thorough testing procedure to ensure the system is functioning properly. This includes checking the electrical connections, confirming that the inverter is working correctly, and ensuring that the system is generating power.
Step 5: Final Inspection and Certification
After installation, the solar panel installation company will provide you with documentation, including any warranties and guarantees. They will also conduct a final inspection to ensure that the installation meets all necessary safety standards.
MCS Certification
Ensure that your installer provides you with MCS certification for your system. This certificate is required for eligibility for the Smart Export Guarantee (SEG), which ensures you can get paid for the excess electricity your system generates.
Step 6: Start Using Solar Energy
Once the system is up and running, you can start benefiting from clean, renewable energy. Your solar panels for home will begin generating power as soon as the sun hits them, reducing your reliance on grid electricity.
Monitoring Your System’s Performance
Many solar systems now come with monitoring software, allowing you to track the performance of your solar panels via a mobile app or online dashboard. Monitoring tools provide real-time data on how much energy is being generated, which helps you optimise your energy use and track savings.
Is Solar Installation Right for Your Home?
The installation of solar panels in the UK is a highly effective way to reduce your energy costs, support the environment, and increase your home’s value. However, it’s important to evaluate your home’s suitability, choose the right panels, and work with reputable installers to ensure the installation goes smoothly.
Key Considerations:
- Roof space and condition: Ensure your roof is in excellent condition and receives adequate sunlight.
- Solar panel type: Monocrystalline panels are ideal for high efficiency, but polycrystalline and thin-film panels can also be good options depending on your budget and space.
- Experienced installers: Choose an MCS-certified installer to ensure quality installation and eligibility for government incentives like SEG.
- Long-term benefits: Solar panels provide long-term savings on energy bills and are a fantastic investment for your home’s future.
Conclusion
Installing solar panels in the UK is a wonderful way to make your home more sustainable and energy-efficient. By following these steps—evaluating your home’s suitability, choosing the right panels, working with qualified solar panel installers in the UK, and understanding the installation process—you can ensure that your solar investment will be a success. With government incentives and the growing demand for renewable energy, now is the perfect time to embrace solar energy for your home.