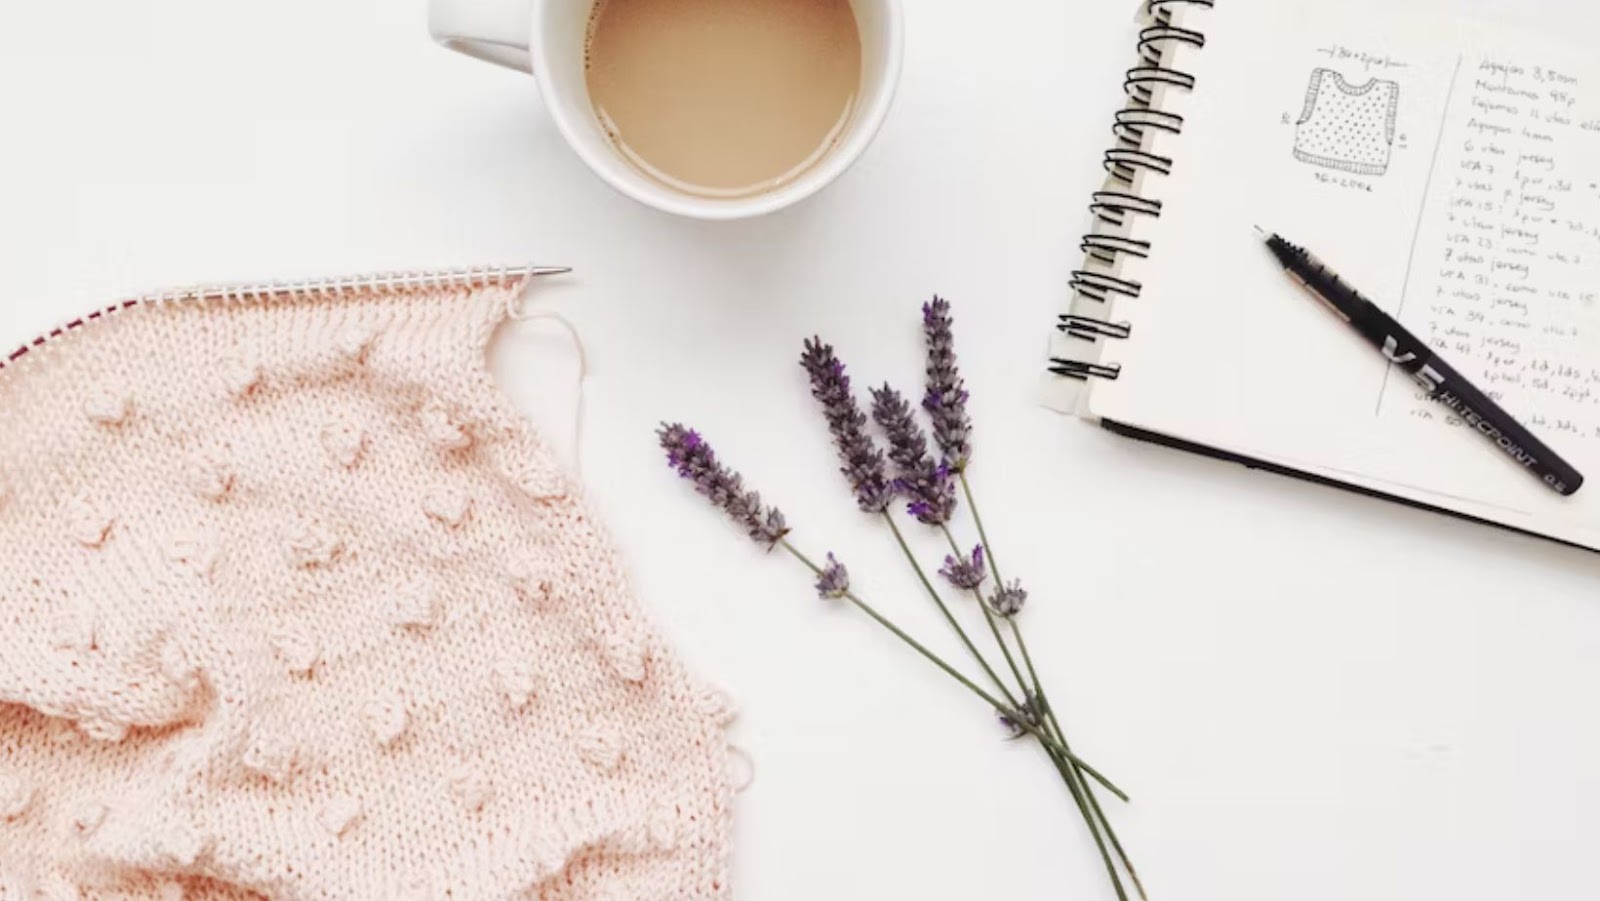
If you’re new to knitting, garter stitch is a fantastic pattern to start with. The garter stitch pattern is created by knitting all rows, resulting in a textured, squishy fabric that is perfect for cozy scarves, blankets, and even sweaters. In this article, I’ll cover step-by-step instructions for how to knit a garter stitch.
To begin knitting a garter stitch, you’ll need a few basics: knitting needles in a size appropriate for your yarn, a ball of yarn, and a pair of scissors. Once you’ve gathered your supplies, you’ll need to cast on to your needles. The cast on is the foundation row of stitches that you’ll work your garter stitch pattern into.
After you’ve cast on, you’re ready to start knitting your garter stitch pattern. One of the great things about garter stitch is that it’s simple to keep track of – you don’t need to worry about counting rows or keeping track of a complicated pattern repeat. Just keep knitting all rows until your project reaches the desired length. With a little bit of practice, you’ll be able to knit a beautiful and cozy garter stitch piece in no time.
Table of Contents
ToggleChoosing the Right Materials for Knitting a Garter Stitch
Before starting to knit a garter stitch, it’s important to choose the right materials to ensure the final product looks professional and feels comfortable.
Yarn
One of the most important factors to consider when selecting yarn is its weight. For knitting a garter stitch, it’s recommended to use worsted weight or aran weight yarn. These types of yarn are heavier and will produce a denser and thicker fabric.
The fiber content of the yarn is also important. Natural fibers like wool and cotton are ideal for garter stitch as they have a good stitch definition and the final result has great texture. However, there are many other types of yarns available, so it ultimately comes to personal preference and budget.
Needles
The size of knitting needles also plays a crucial role in how knitting looks and feels. For garter stitch, it’s recommended to use needles that are larger in size than what’s recommended for the chosen yarn.
For example, if using worsted weight yarn, the recommended needle size would be US 7-9. To create a relaxed, open, and floppy fabric, needles a couple of sizes larger such as US 10-11 should be used.
Other Tools
Along with yarn and needles, other tools like stitch markers and a tapestry needle can help make knitting a garter stitch easier. Stitch markers are used to separate sections while knitting and serve as reminders for pattern repeats or buttonholes. Tapestry needles are used to weave in ends of yarn and finish projects.
In summary, when choosing materials for knitting a garter stitch, consider the weight and fiber content of the yarn, the size of the needles, and additional tools needed to make the process smooth and enjoyable. By taking these factors into account, anyone can create a beautiful and textured garter stitch project.

Following the Basic Garter Stitch Pattern
To knit a garter stitch, all you need to know is how to knit the knit stitch. Once you’ve mastered this basic stitch, you can start creating simple and elegant pieces by following the garter stitch pattern.
Here’s a step-by-step guide on how to knit a garter stitch:
- First, cast on the number of stitches you need for your project.
- Next, knit all the stitches in the first row.
- When you get to the end of the row, turn your work around so that the needle with the stitches is in your left hand and the empty needle is in your right hand.
- Continue knitting every stitch in every row until your project is the desired length.
That’s it! The garter stitch pattern is that simple.
It’s a great pattern for beginners as it creates a bumpy texture that doesn’t curl up at the edges. It also gives a thicker and more durable fabric that’s perfect for warm blankets, scarves, and other cozy items.
Now that you’ve learned how to knit a garter stitch, you can jazz it up by introducing other colors or trying new stitch patterns. The garter stitch is very versatile and can be used as a base for many other more interesting stitch designs. It’s a great way to get started on your knitting journey and create beautiful projects with ease.
So grab your knitting needles, some soft yarn, and start working on your very own garter stitch masterpiece!
Now that you’ve learned how to knit a garter stitch, it’s important to know how to identify and fix common mistakes that can occur during the process. In this section, I’ll provide some troubleshooting tips for those pesky errors that can pop up.
Troubleshooting Common Mistakes
Loose Stitches
If you notice that your stitches are overly loose and not tightly knit together, try pulling the working yarn a bit tighter after completing each stitch. This should help create a more uniform and snug appearance.
Uneven Rows
Uneven rows can occur when a stitch is accidentally skipped or added in the wrong place. To fix this, carefully go over your work and make sure that each stitch has been properly knit and that there are no unintentional increases or decreases.
Twisted Stitches
Twisted stitches are most often the result of improperly positioning the needle when inserting it into the stitch. Make sure that your needle is going through the middle of the stitch and not around the back of it. If you notice a twisted stitch, gently pull it out and redo it correctly.
Dropped Stitches
Dropped stitches are a common mistake when learning how to knit. If you notice that you’ve accidentally dropped a stitch, use a crochet hook to pull the stitch up and place it back on the needle. Be sure to tighten the following stitch to prevent any holes in your work.

Tension Issues
Tension can be a difficult thing to get just right when knitting a garter stitch. If you notice that your work is too tight or too loose, try adjusting the way you hold your needles and yarn. Practice and patience will help you find the right tension for your comfort level.
By knowing how to identify and fix these common mistakes, you’ll be able to continue knitting your garter stitch with confidence and ease.
Conclusion
So there you have it, that’s how to knit a garter stitch. It may seem basic, but it’s a fundamental stitch that forms the basis of many patterns and projects. Learning how to do it well will give you a strong foundation for your knitting and make it easier to progress to more complex stitch patterns.
In this article, we’ve explained what garter stitch is, why it’s useful, and how to create it. We covered the basics of casting on, knitting, and binding off, and gave tips for adapting the stitch to your needs. By now, you should be feeling confident in your ability to knit the garter stitch.
Remember that practice makes perfect. Take your time, be patient, and don’t be afraid to make mistakes. Learning to knit takes time and effort, but it’s a rewarding and relaxing hobby that can bring you joy for years to come.
So go ahead and try out some garter stitch patterns! Start with something simple, like a scarf or a washcloth, and work your way up to more advanced projects. Who knows, maybe one day you’ll be designing your own patterns and inspiring others to take up this timeless craft.
Thank you for reading this guide on how to knit a garter stitch. Happy knitting!
Open sidebar


